
|
10/23/2020 0 Comments Healthy Halloween Snack IdeasPlus: tips to manage Halloween sugar consumption  Pumpkins are aplenty and the grocery store shelves are stocked with mini chocolate bars. That can only mean one thing: another Halloween is upon us. Personally, I find this occasion a little tricky. On one hand, it's a ton of fun--the costumes, the parties, the excitement. I love it. But on the other hand, the sugary foods that tend to come along with all of the festivities can leave parents cringing a bit. So, I try to take a balanced approach here and not let myself spiral out of control around... well, control. Luckily, my oldest isn't even three yet, so although I know the harder years are ahead when it comes to Halloween candy stress, I'm going to revel in this bubble of her naivety while I still can. That said, this is the first year my daughter may need a few household guidelines in place to manage the Halloween sugar rush. She's aware enough that if I throw out her candy after she goes to bed (like last year), she may have something to say about it in the morning. Luckily, her limited candy experience means even a couple of pieces saved for the week will leave her feeling like she won the lottery. So this year my strategy will be to have her choose five pieces from her loot (read: allows her to exercise control by offering choice). I will explain that she can have one piece each day until the five pieces are gone. Hard to say how many years this will fly for, but I think it's important to note that you set the standards in your own home when it comes to Halloween candy practices. So, whatever you're comfortable with--maybe it's eat until your belly hurts on the 31st and then choose one piece for the next day; maybe it's give all of the Wunderbars to mom and dad and you can keep the rest; some families like to employ the Switch Witch and trade out the candy for a toy, etc.--whatever your comfort level is, remember that you are the boss. Whatever model you choose, I like the idea of incorporating choice somewhere, because, like I mentioned above, putting some control in your child's hands is key, but remember that you are ultimately the decision maker. We love to host our friends and their littles (although, if you're reading this in 2020, that looks different this year) and one of my favourite things to do is find healthier food hacks while keeping the theme and spirit of the day in mind. Food can easily be considered "treats" or "festive" without being void of nutrients. I've chosen five fun Halloween food ideas to include in a party menu or even in your chid's meals on the 31st to make the day extra special. I've used real, whole food ingredients, and also incorporated a few more "treat" foods that we don't see often in our house (like marshmallows!), making them extra special in my almost-three-year-old's eyes. We don't use the worlds "good" or "bad" around food. It's important to monitor your use of these terms to support children's development of a healthy relationship with food. But I don't mind using words like "nutritious" or "special treats". It's teaching our children to tune into how different foods make their bodies feel, as well as how different foods help our bodies do their jobs better than others. It teaches them that sometimes food is just meant to be enjoyed. It's teaching them intuition and balance. "It's teaching them intuition and balance." So, let's get into these fun (and easy) recipes that you can try with your kiddos this Hallow's Eve! But first: have you seen my FREE healthy school lunch guide? Download all of my tips (including meal ideas + photos) for a nutritious lunch box HERE. 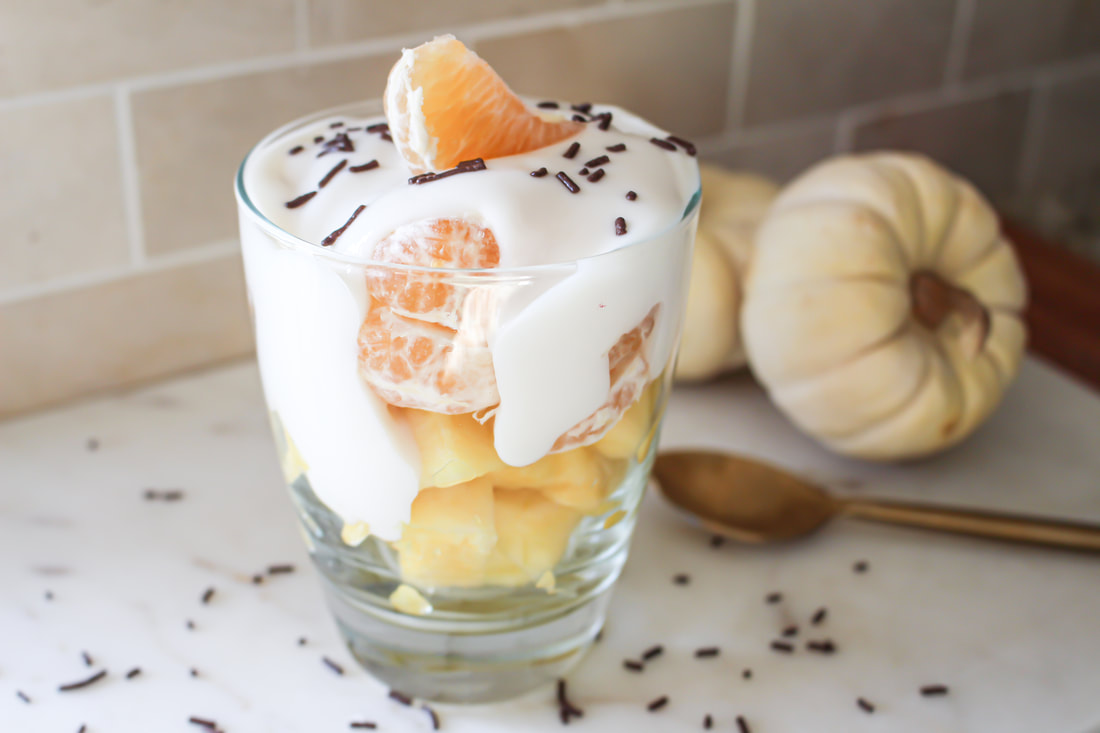 Starting off with this cute little dish, because I think it could make for a lovely breakfast or morning snack. Simply layer some pineapple and clementines (or mandarines) and top with yogurt. I've used coconut yogurt here but you could also use whipped cream if you want to make it a little more decadent. I also topped with a few chocolate sprinkles to make it extra special for the littles. (Sidenote: I used vanilla coconut yogurt and, combined with the pineapple, it gave me serious pina colada vibes. Grownup bonus). 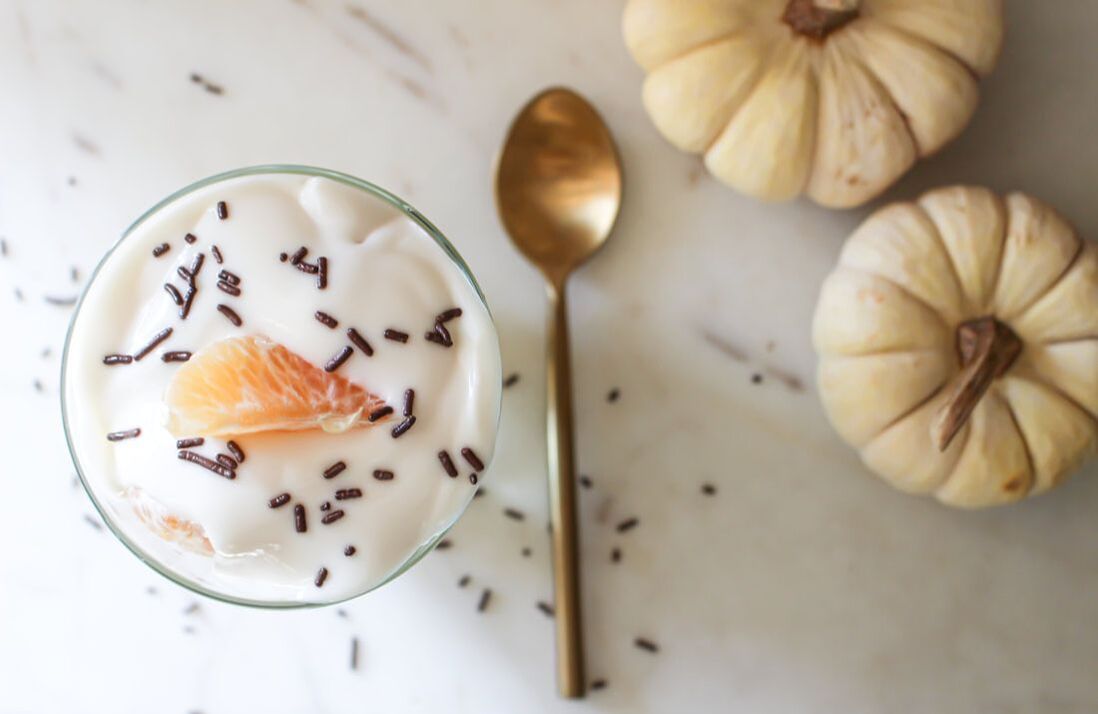 These cantaloupe and blackberry kabobs could not be easier, but don't they look festive? They are perfect for a halloween party or to send with your child to school. Fruit in Halloween colours? You can't go wrong. 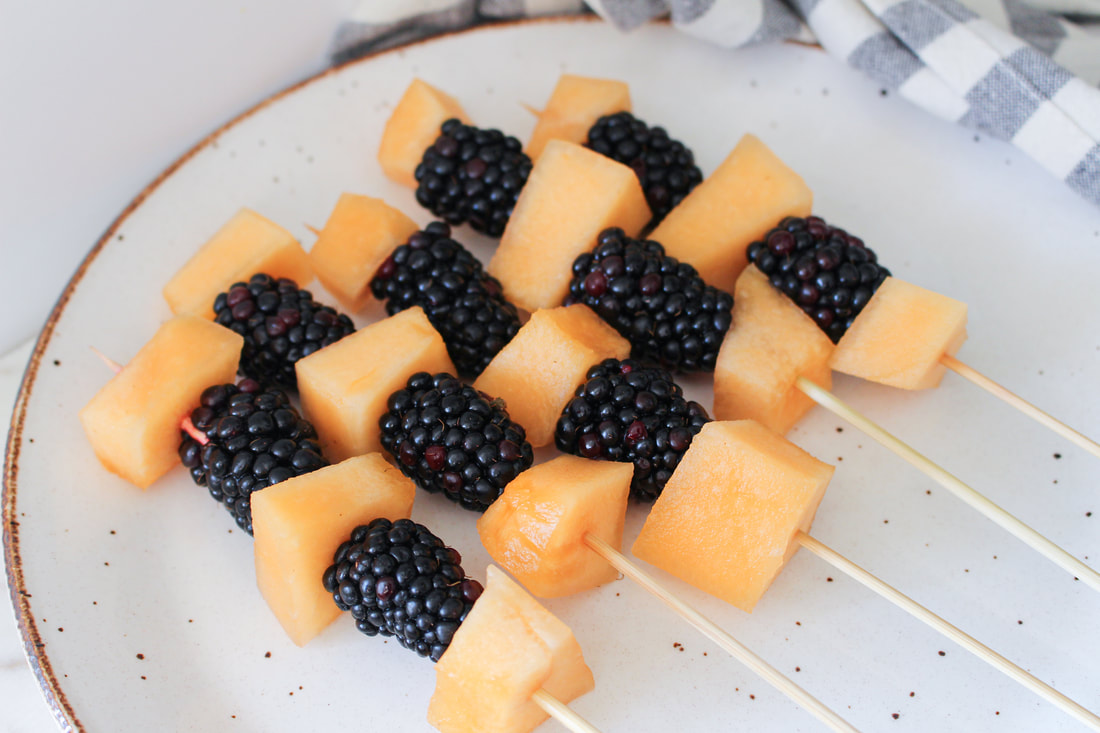 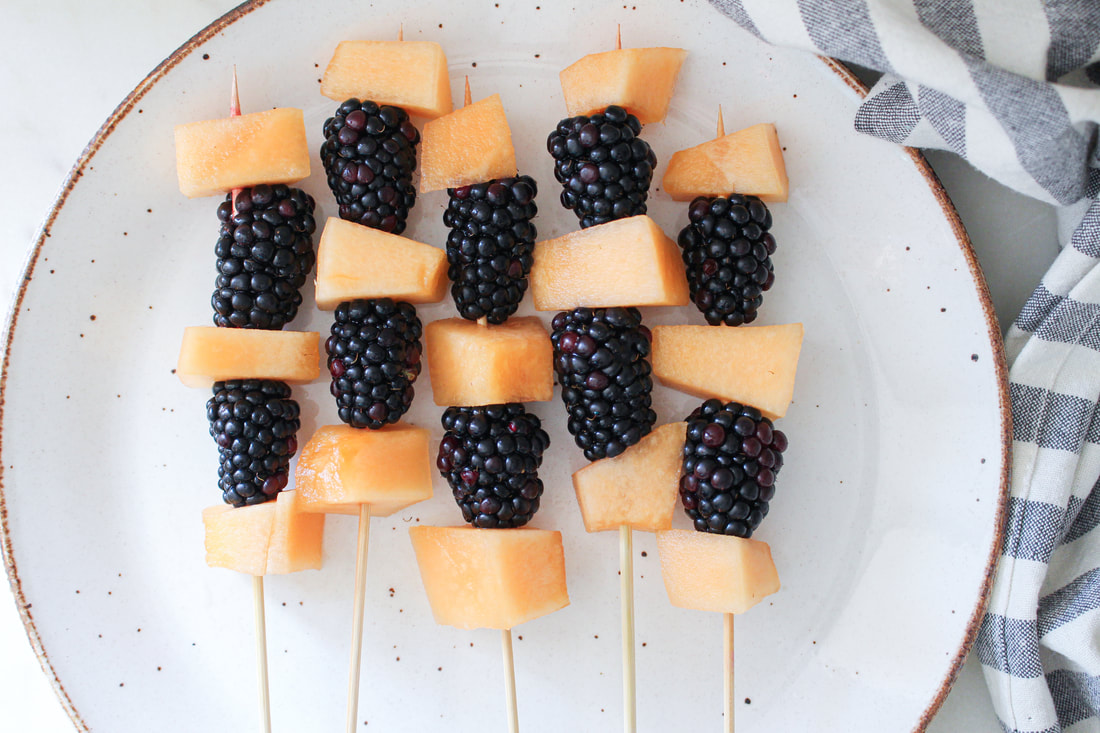 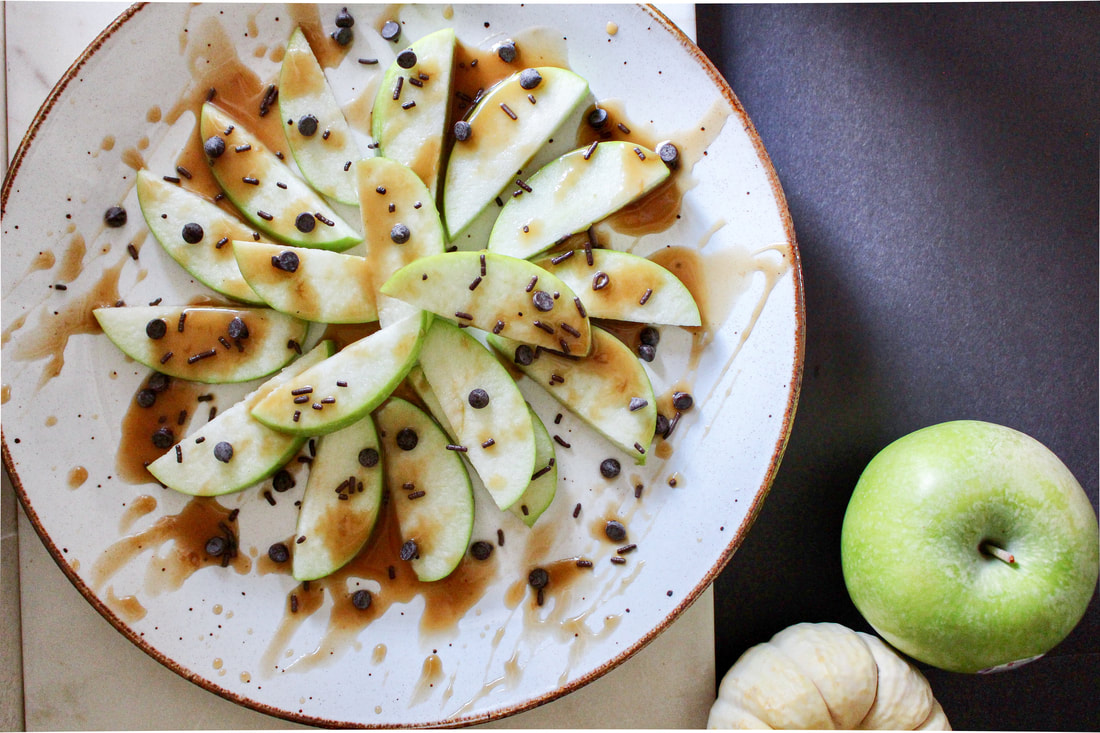 I love the look of this plate. The green apples with the spooky sauce... so good. You're already winning with apples being the main ingredient, but the star is my sneaky healthy(er) caramel sauce. Ditch the corn syrup and follow along: 1 can full fat coconut milk 1/4 cup coconut sugar 1/4 maple syrup pinch of salt 1/2tsp vanilla Combine all ingredients in a sauce pan except the vanilla. Bring to a boil for 4 minutes (stirring constantly). Reduce to simmer for about 45 minutes (until liquid has reduced by half), stirring as needed. Remove from heat, stir in vanilla, and let cool for about an hour. Cover and store in fridge overnight to allow for further thickening. 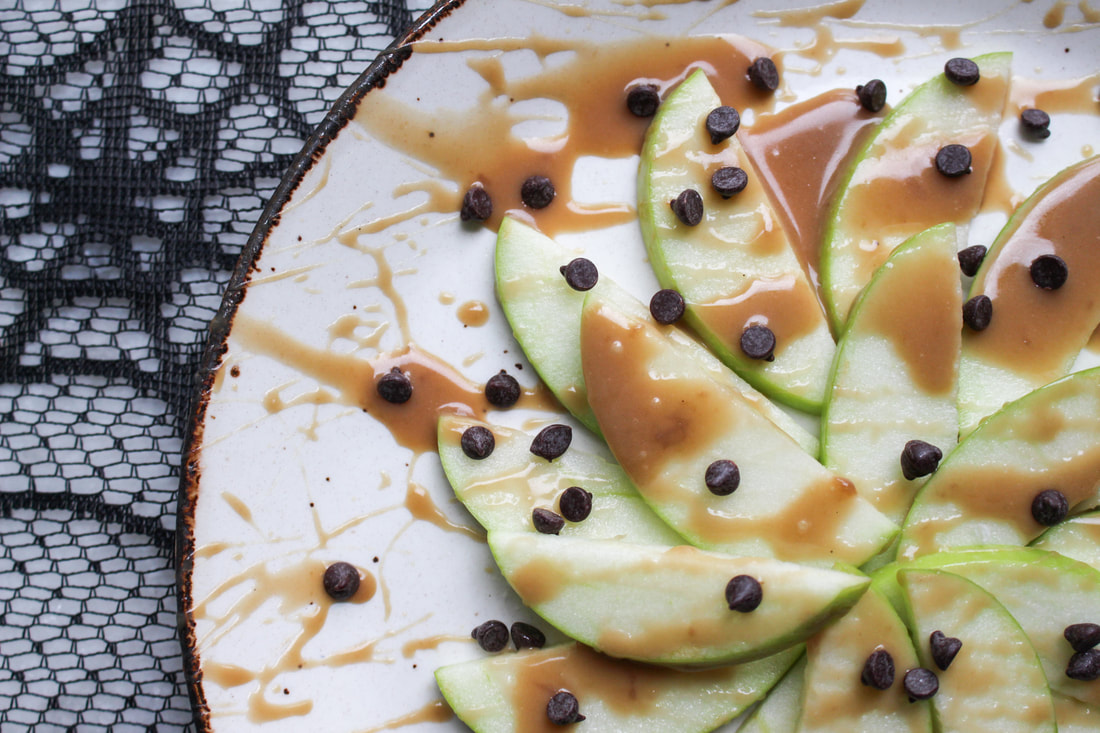 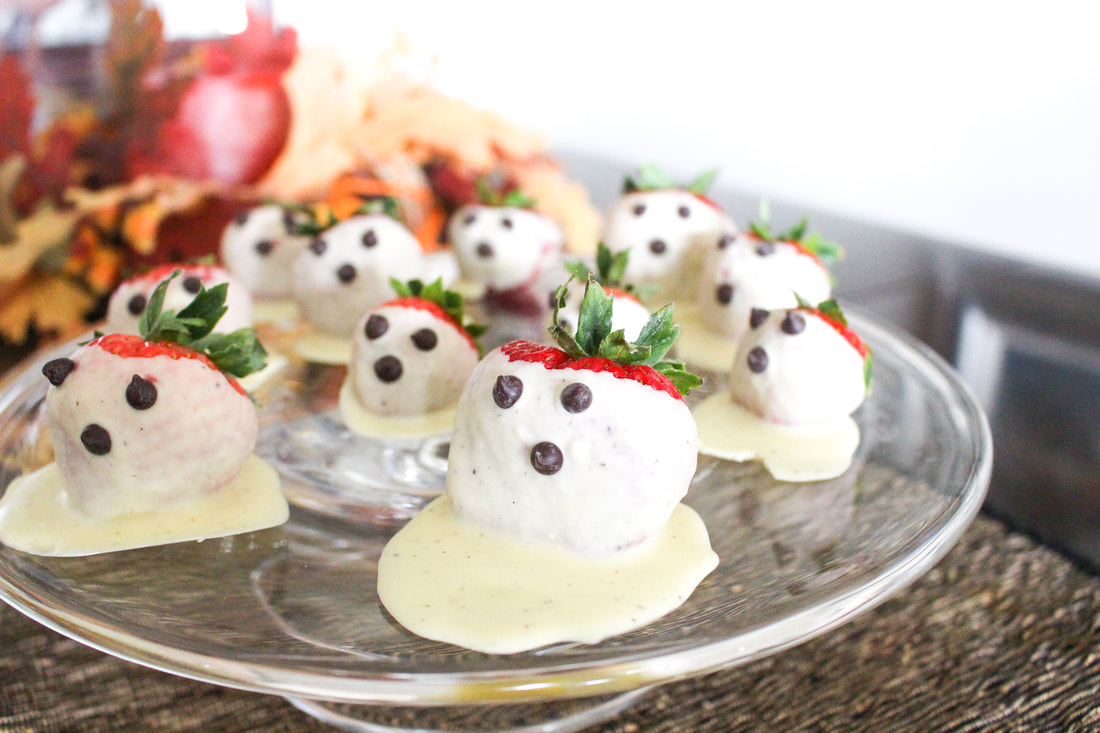 These are just the cutest darn ghosts I have ever seen. Plus, who doesn't love chocolate covered strawberries? I grabbed an organic white chocolate bar, melted it on the stove with 1 Tsp of coconut oil, allowed it to cool and thicken slightly before dipping my strawberries with lots of excess chocolate for a more "ghostly" shape. Let strawberries sit in the fridge on parchment paper for about 5 minutes before using small chocolate chips to make the eyes and mouth. Return to the fridge and allow to set fully before serving. 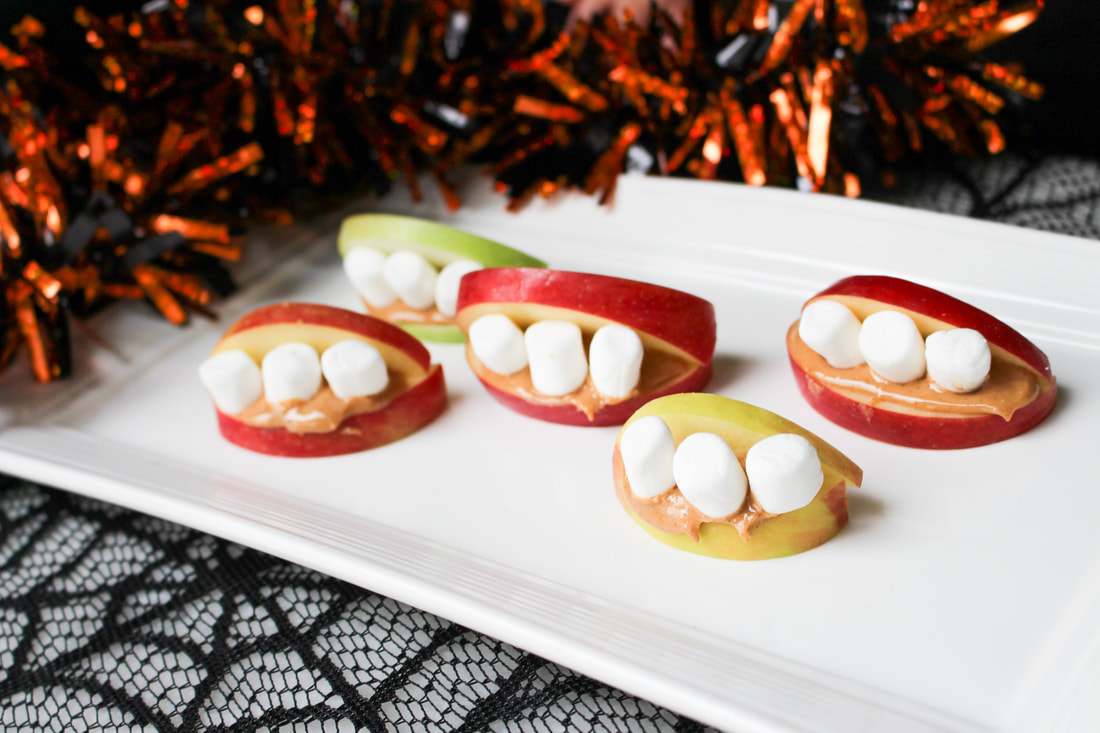 Apples + peanut butter + marshmallows = these adorable monster mouths. With three ingredients and about 5 minutes of prep, you can't go wrong throwing these on your party table. Also: how stoked was my daughter when there were marshmallows on her apples? Made her whole weekend. The sweetest part was when she saved one on her plate for a little later. After she played for a while, she went back to the table, made herself comfortable and enjoyed every moment of her third marshmallow. 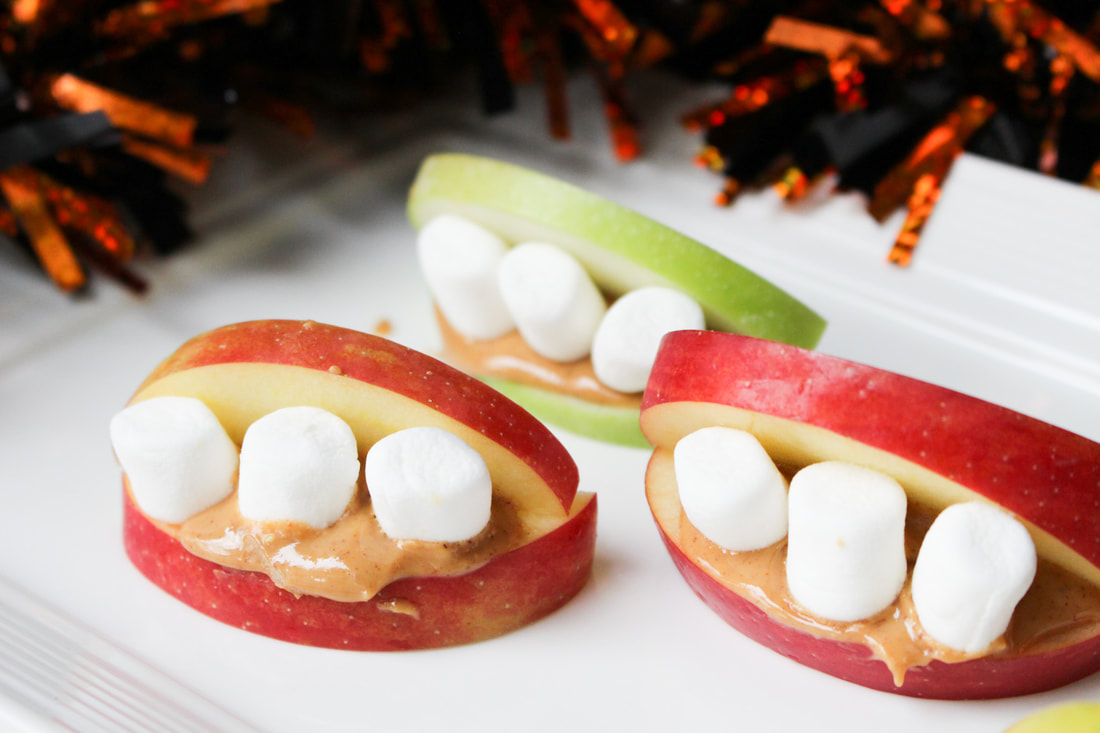 Happy Halloween, friends! Tag me on instagram if you try any of these (or other!) healthy Halloween snack ideas!
0 Comments
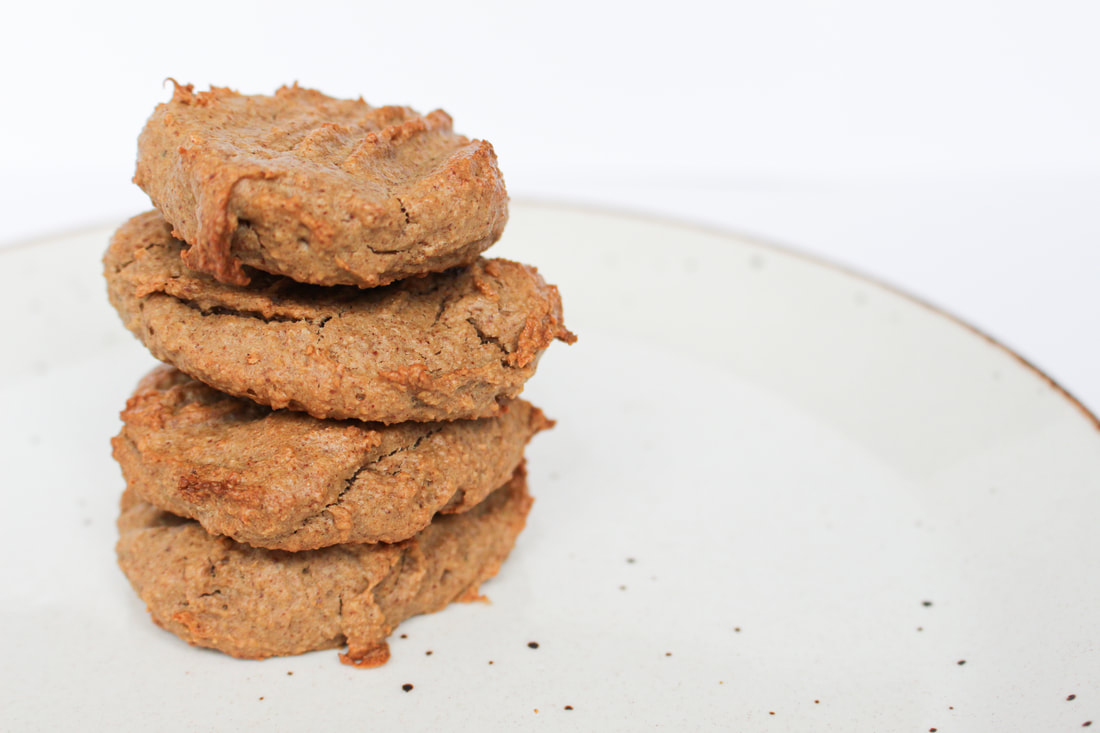
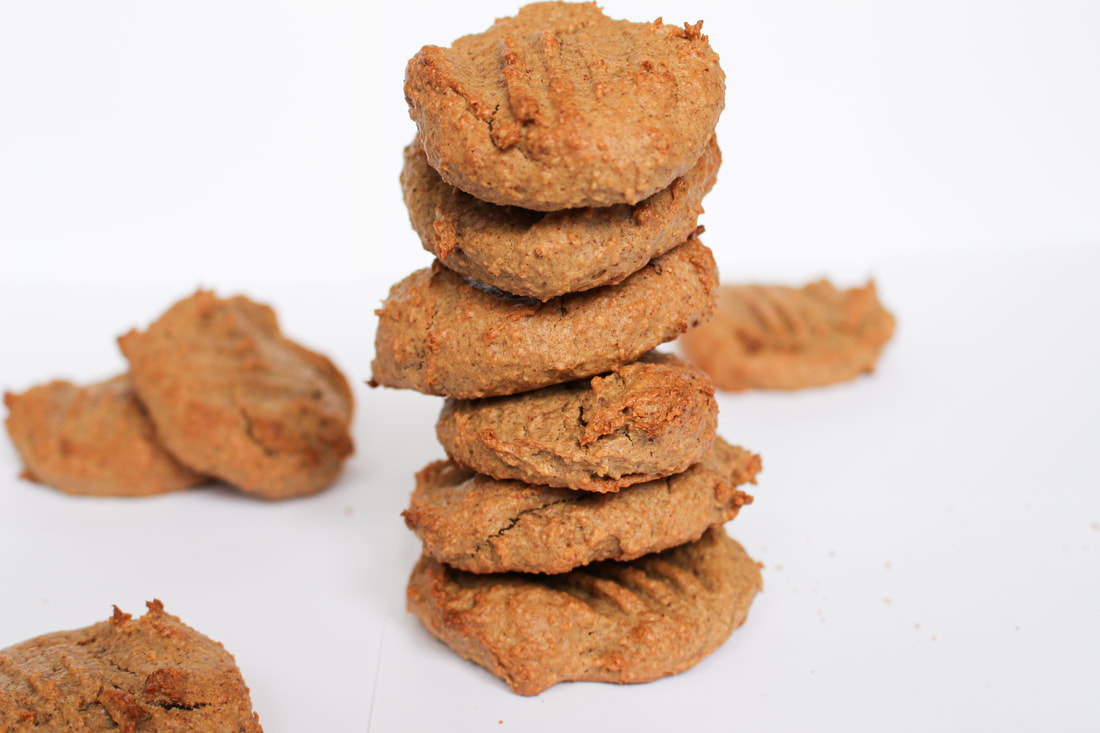
I am always looking for fun snack recipes for Ayla. I want them to have a good nutritional profile, but they also have to be tasty for her to show any interest. I had seen lots of cookie recipes that used chickpeas in place of flour and thought that sounded like a great place to start for a winning, healthy snack. But as I began looking around, I couldn't quite find a recipe that I was happy with. So, taking ideas from a variety of sources, I got to work on my own creation. This hasn't always worked out for me in the past, so when I gave my first batch the official taste test, I was shocked that they were actually quite tasty!
To make things even better, these cookies are packed with fibre, and are gluten, dairy and refined sugar free.
But none of this mattered if the ultimate taste tester didn't approve. Luckily, Ayla gobbled them up! Huge mom win. I can't tell you how many hours I have spent in the kitchen coming up with what that I think will be great dishes for the babe, only to have her turn her nose up at them. I needed an ego boost.

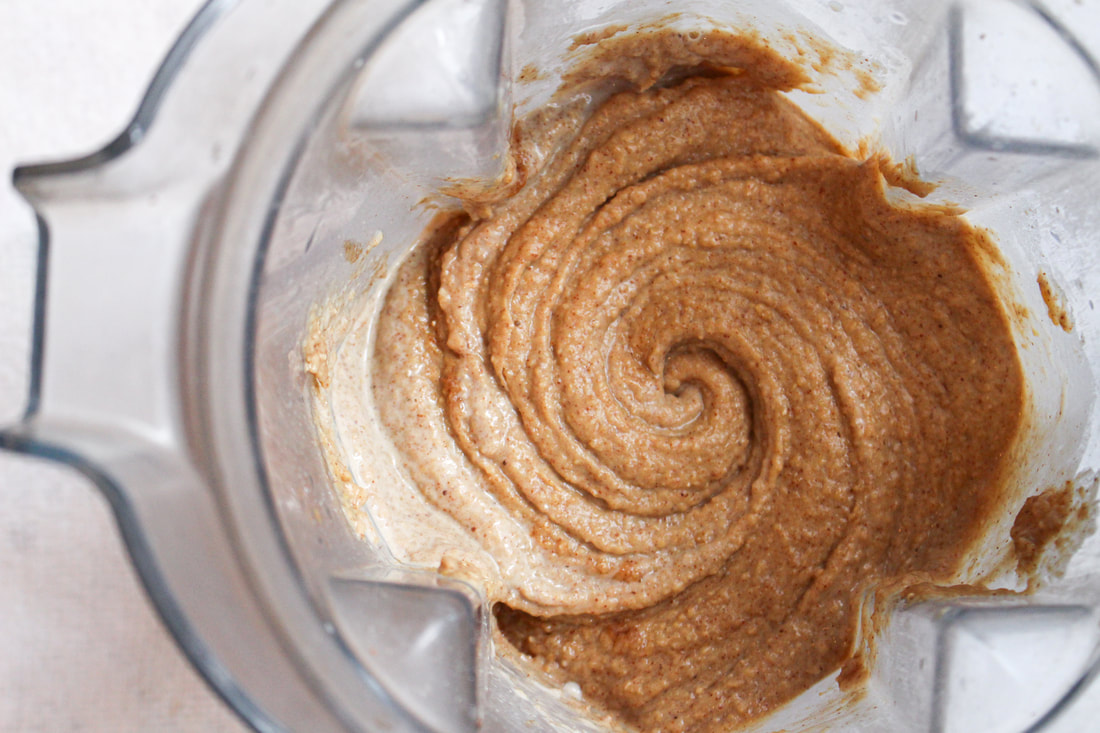
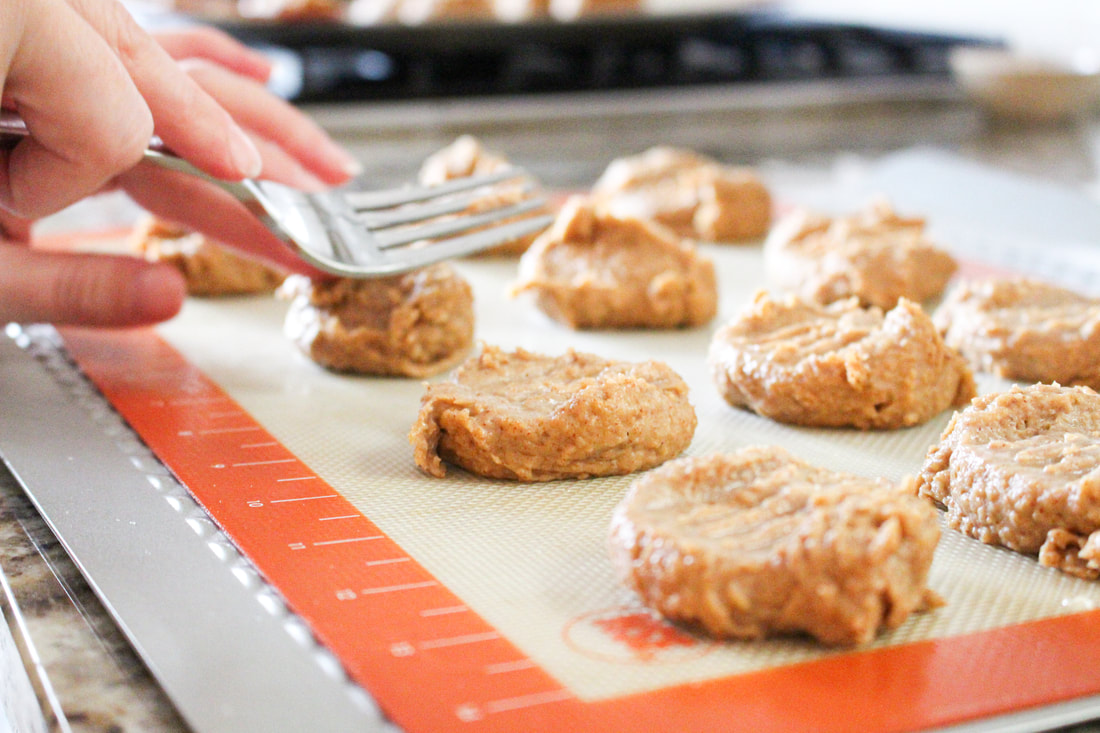
What I love most about this recipe is that you throw all of the ingredients in a blender at once, making the prep work really quick and easy. You can have these cookies prepped and cooked in less than 45 minutes. They really do resemble the peanut butter cookie of my childhood, but with more nutritious undertones. I wanted them to be baby friendly, which means low sugar (natural or otherwise) but if you are making them for yourself or an older child, there a couple of alterations you can do to make them a bit of a sweeter treat. I used 2 tablespoons of 100% maple syrup as my sweetener, plus a banana. You could up the maple syrup for an extra kick of sweetness (perhaps 1/4-1/2 cup), as well as stir in chocolate chips just before scooping them onto your cookie sheet. Chocolate chips tend to go a long way in elevating most cookie recipes. The first batch I made definitely had a more "rustic" look to them. The second time around, I used damp hands to create more uniformed shapes and pressed down on the tops with a fork to resemble a more traditional peanut butter cookie.
As our environment becomes increasingly more fragile, low-waste (or zero-waste) living is gaining momentum--and thank goodness for that. According to The World Counts, there is over 1 billion, 600 million tons of waste dumped globally each year. That is a staggering number and one is left thinking… where will it all go?
People are starting to get the hint that their daily actions matter when it comes to preserving what environment we have left, and maybe (MAYBE) even seeing some regeneration if we act quickly and wisely. Over the past few years, primarily after purchasing my own home, I started to become very aware of waste--specifically, mine. The garbage can towering with bags mocked me as I struggled to get to the end of the driveway on garbage day. I was conscious of the amount of plastic coming into my house on a regular basis and didn’t like it. I was working on reducing the amount of chemicals that were used in our home and realized that many were coming in disposable, plastic bottles.
Every single-use plastic item that I used regularly left me with a growing amount of guilt and maybe a little shame.
I knew I could do better. 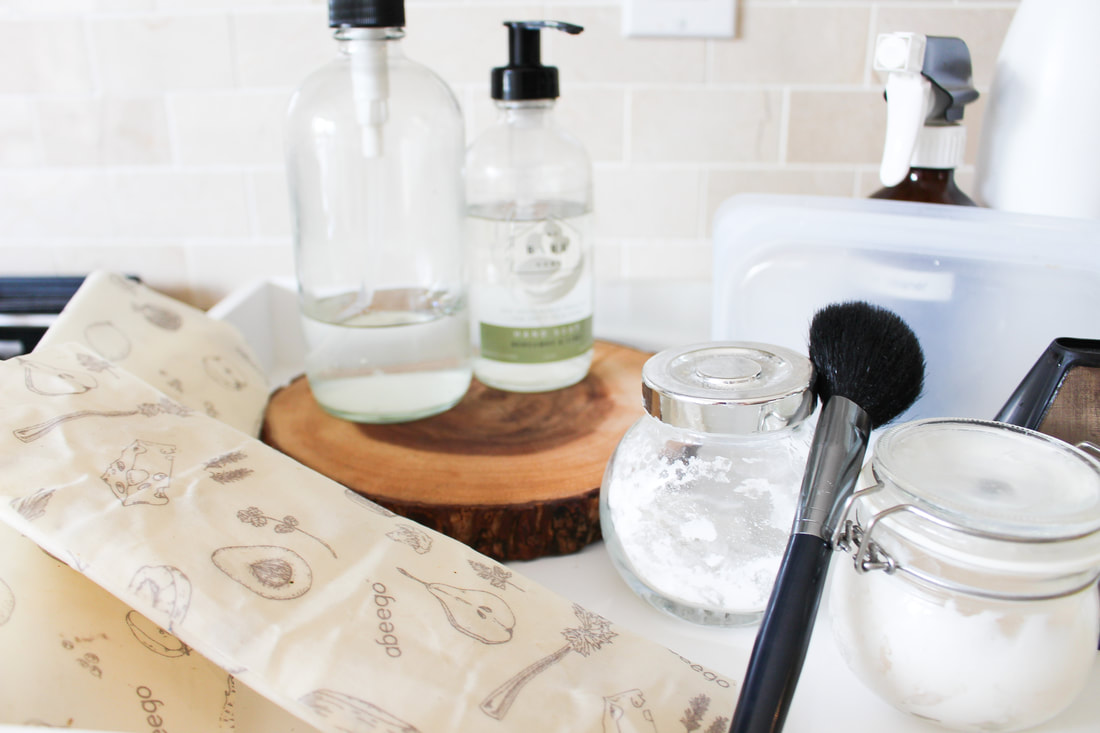
A lot of people become paralyzed by the idea that if they aren’t doing something with 100% effort and accuracy, they might as well not do it at all. But when it comes to low-waste living, a little can go a long way. As the saying goes, a lot of people doing low-waste living imperfectly is better than one doing it perfectly. So, with these words in mind, I slowly started to shift a few habits in my home that reduce our overall impact on the environment, and quite honestly, on my wallet.
When I say I no longer buy these things, in some cases that’s a bit of a stretch. What I mean is it is very rare for me to buy these items anymore and when I do, they last a very long time. I’m not perfect and, although sometimes I wish I was, by no means an extremist. I’m just a gal trying to do the best I can. But sometimes I just need to use a piece of plastic wrap, ok? These changes were not made overnight. Like most long-term shifts, I started slow, replacing one item at a time with a more sustainable option, and grew my list over time.
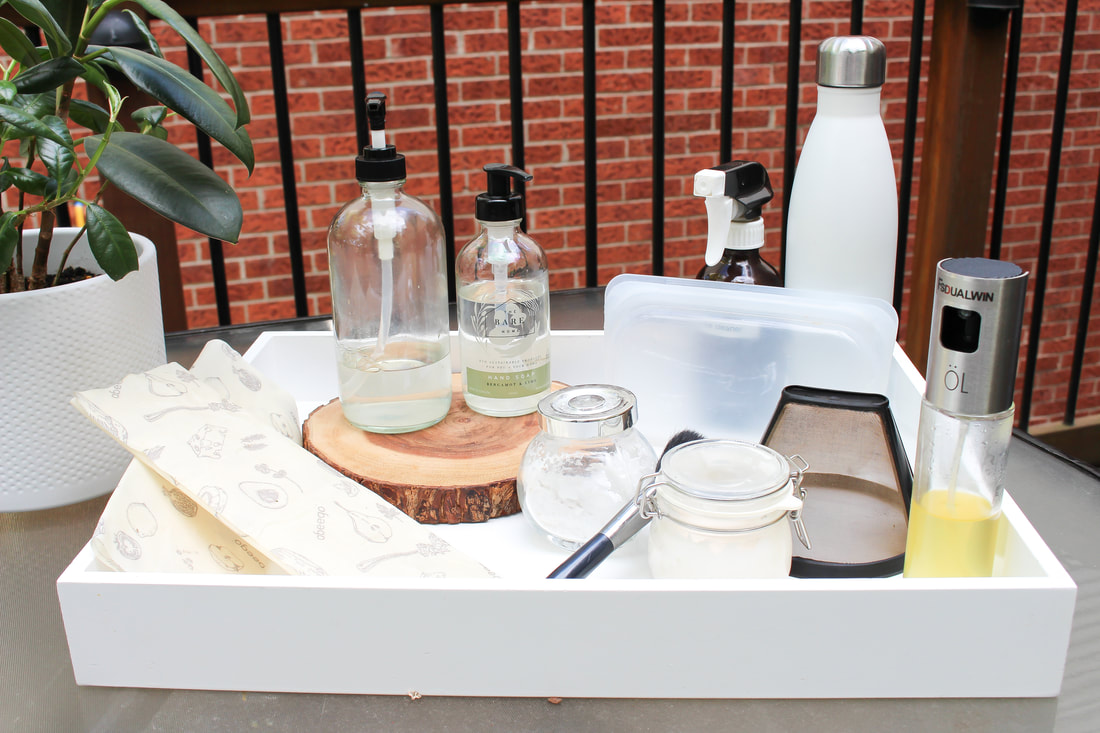
So, without further ado, here are 10 things I no longer purchase and--more importantly--what they have been replaced with: quality, sustainable products.
1. Ziplock bags
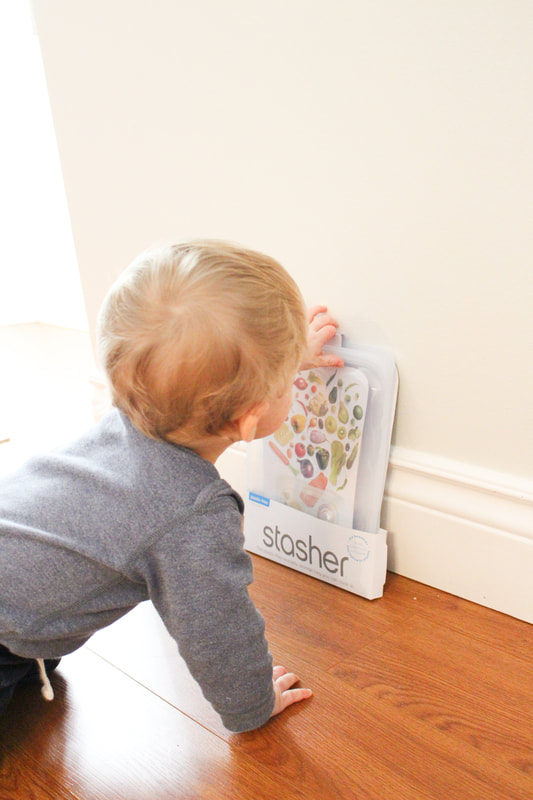
I had been feeling guilty about ziplock bags for a while. It was just one more single-use plastic that I did not need to be using and contributing to our landfills. Luckily, Stashers are an incredible replacement for plastic baggies. They are made of non-toxic silicone, have an incredible seal and can be used over and over again. I have a deep love for these bags and every time I use them, I feel proud that I will have nothing for the garbage can when I’m through. They come in multiple sizes, which is very helpful. I use the large size to freeze items or even defrost meat in (seal chicken breast in the bag and then pop it in a sink of warm water). I also love the regular size for snacks. They’re fantastic for travel because they’re zero-waste without the weight or bulk of a container. For some, the price may be a deterrent, but if you consider the fact that they are a one-time buy (and you would otherwise be continuously purchasing boxes of plastic baggies), and that you only need a few in your drawer, it's a money saver in the end. Financially and environmentally beneficial? Sign me up. 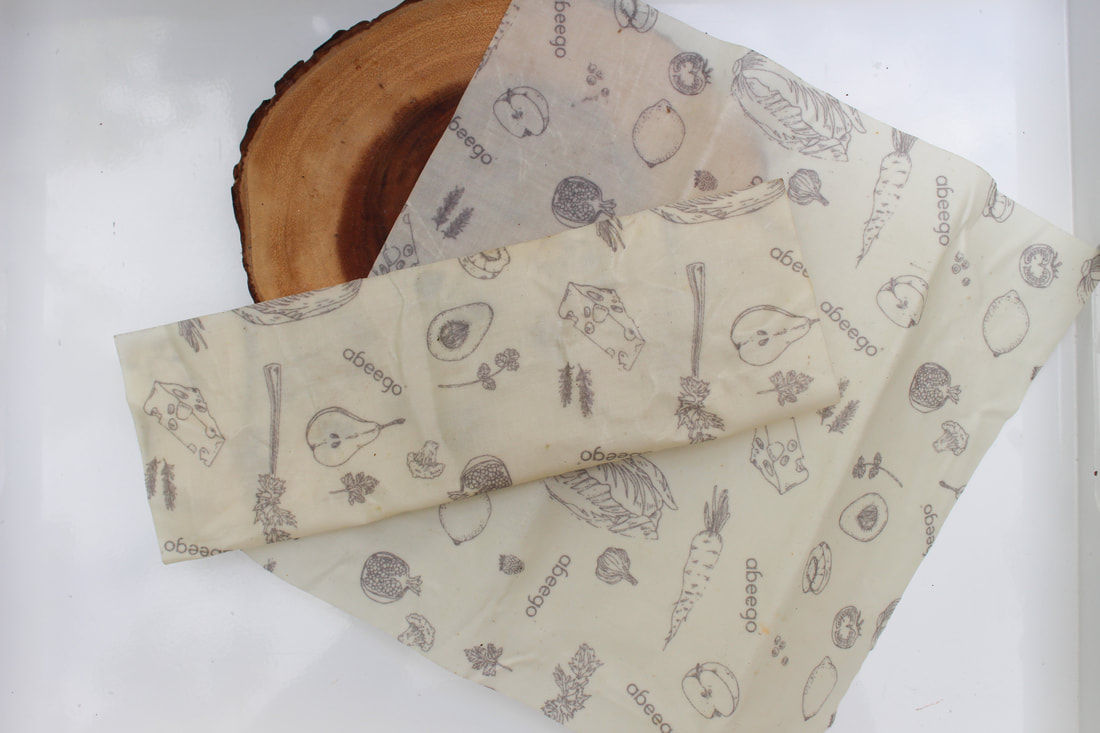
2. Plastic wrap
Let’s just keep the single-use plastic ball rolling here. I really struggled with plastic wrap. It’s just so good at what it does. And the convenience kept me coming back for more. But I couldn’t ignore another easy swap for a single-use plastic item, and so entered beeswax wraps. This genius invention is made by infusing cotton, food-grade beeswax and oil. Together, these form a breathable, moldable paper that can fit over any bowl, dish or container. They come in various sizes or can be cut to your preferred size. These wraps solve the problem of covering food while also eliminating the issue of plastic waste. They are easily washed, dried, folded and put away in the drawer until next time. There are a ton of companies out there to choose from, but being a Canadian gal myself, I highly recommend Abeego or Nature Bee, which originated right here in the Great White North. 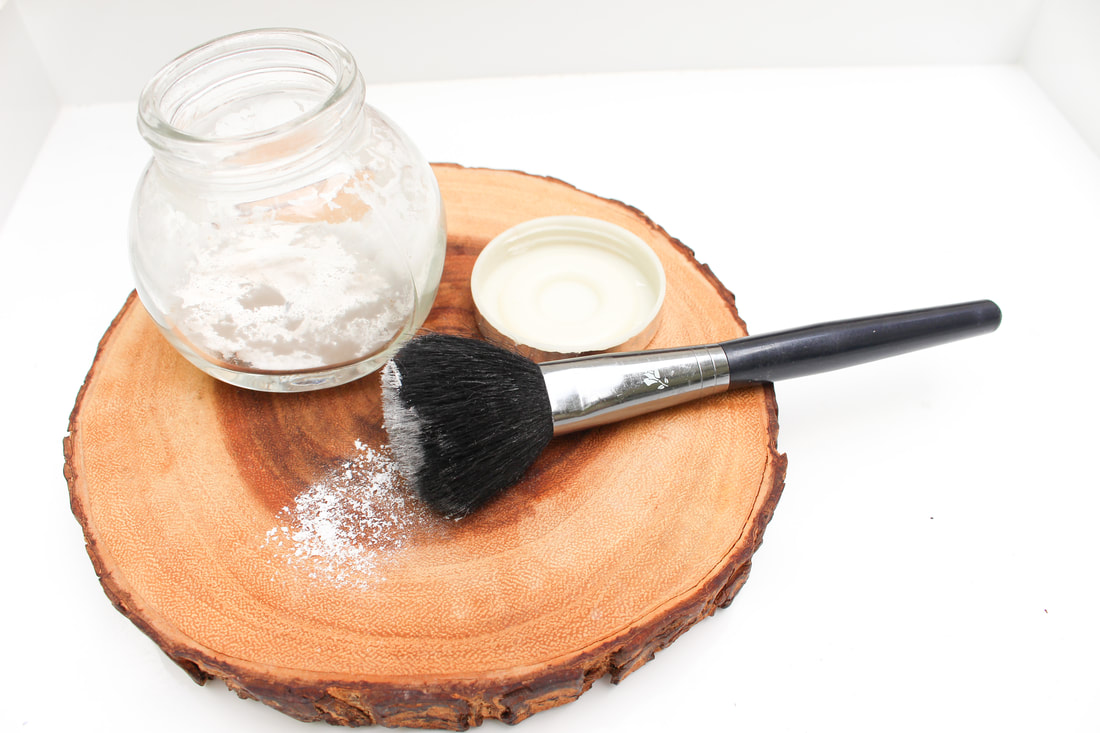
3. Dry Shampoo
Let’s be clear--this doesn’t mean I am washing my hair every day. Hardly. My swap for store-bought shampoo actually didn’t originate out of a desire to reduce my waste (although the elimination of aerosol bottles is a huge win here). I was actually struggling with a dry scalp and found that traditional dry shampoo exacerbated the issue. I was also making a move to more natural, toxic-free hair, makeup and body products at this time in my life. When I found out how easy it was to make your own dry shampoo, I couldn’t not try it. I am a blonde, so making dry shampoo is as simple as pouring tapioca or corn starch into a small glass jar, mixing in a couple of drops of lavender essential oil (optional) and putting the lid on. That’s it! I apply with a clean makeup brush and it works great. If you are a brunette, and don’t like the white residue this (and most other dry shampoos) leaves behind, simply add a bit of cocoa (obvious bonus: smells like chocolate). Another application option is to save an old spice bottle with the holes in the top and put your mixture in it for easy sprinkle application. 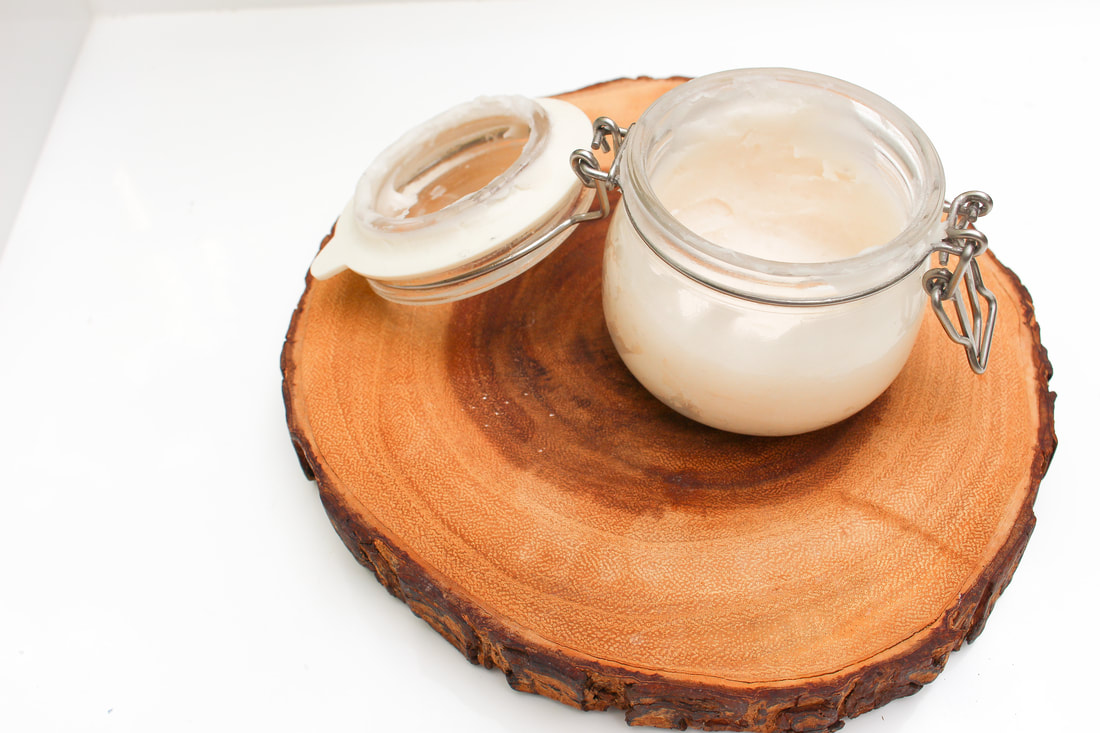
4. Deodorant
So I find that most people (in my circle, anyway) are getting on board with the concept of natural deodorant. More and more information is surfacing cautioning people from using the chemical-laden, aluminum-filled store-bought brands. Heavy metals next to your breast tissue all day, ladies? Run for the hills. But when I tell them that I actually make my own deodorant, I usually get an eyebrow raise or two. But let me tell you--I tried countless natural brands and, being the sweaty person that I am, none of them could get me through the day without grossing myself out with my own stentch. A girlfriend actually made this deodorant for me first. That was two years ago and I have never gone back to store-bought. Not only does it last forever, but it’s super easy to make, 100% natural, incredibly inexpensive and plastic-free. I am a hard sell, and I promise you this homemade version comes out on top.
Grab the recipe for this homemade, easy, effective and natural deodorant by filling out your email below. I'll send it right to your inbox. Bye, chemicals and heavy metals. You can't sit with us.
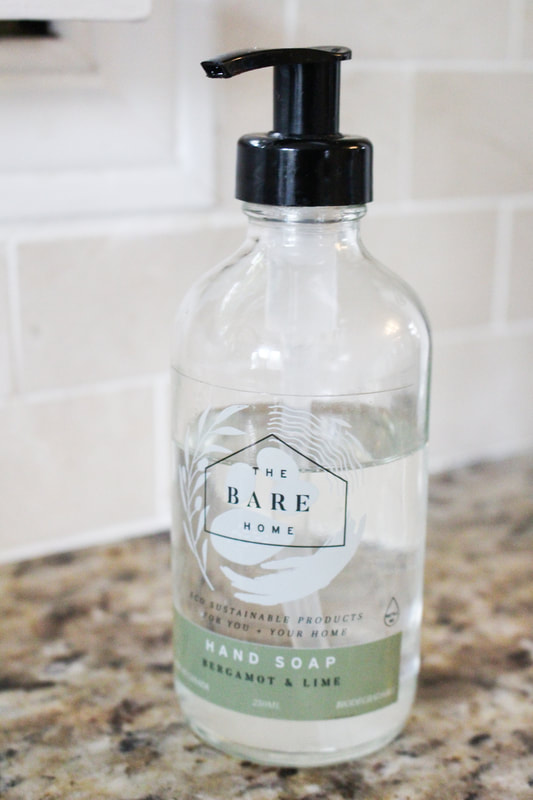
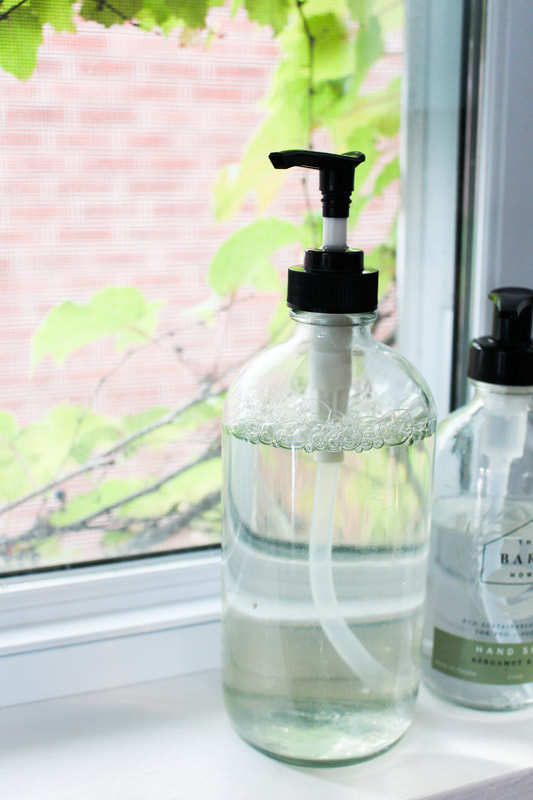
5. Plastic hand soap bottles
My solution to the never-ending stream of plastic hand soap bottles came to me when one of my favourite shops moved in down the street. The Kind Matter Company is an eco-friendly, sustainable living store that boasts an array of household items mostly made by Canadian companies--many local. They hooked me up with hand soap from The Bare Home, a non-toxic, environmentally friendly soap that arrives in a glass bottle, which you are encouraged to refill. You can order boxes of refills directly from The Bare Home, or--and this is my preferred method--visit a refill station like The Kind Matter Co. when you run out.
Are you an Eat. Move. Live. subscriber? If so, you'll see a discount code for Kind Matter Co. in your inbox this week! That will allow you to shop 24/7 in their online store and snag some of the incredible products I've mentioned here (plus so much more) for a great price. Not signed up? No problem. Fill in your info below to access the code now.
6. Plastic dish soap bottles (and dish soap, for that matter!) Keeping my love of The Kind Matter Co. going, when I figured out I could make my own dish soap using a toxic-free concentrate, I ran over to the shop, snagged myself a large glass pump bottle and, just like that, eliminated my need to buy any more plastic dish soap bottles. I use my concentrate (Doterra brand), mix it with water and I’m done. These bottles can be used for so many things over and over again, so be sure to grab that discount code if you haven't already and pick yourself up a couple! They also look a whole lot nicer on your counter than store-bought plastic brands. Im a minimalist at heart, so this is something I really appreciate. 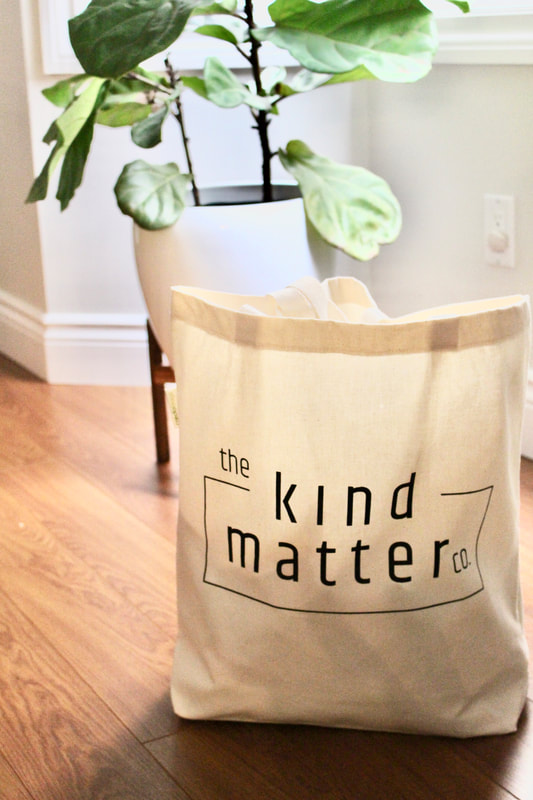
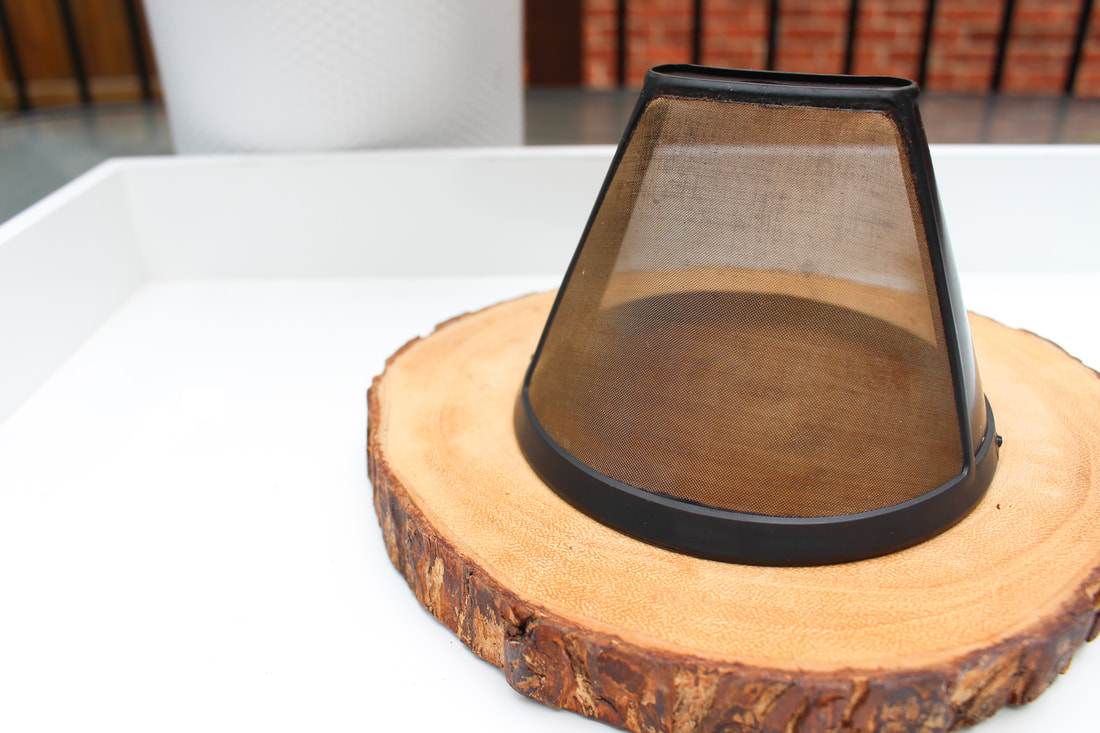
7. Coffee filters I’m not going to lie--I loved the convenience of throwing my morning grinds and filter right into the compost bin daily. But eventually I decided, even though it was composted, it was one more item I didn’t need to be buying. My coffee maker came with a reusable filter that I could easily rinse out with each use. If yours doesn’t come with one, take a look at this one and see if it would work with your pot. It’s convenient and economical and prevents those, “Shoot--I’m out of filters!” moments. 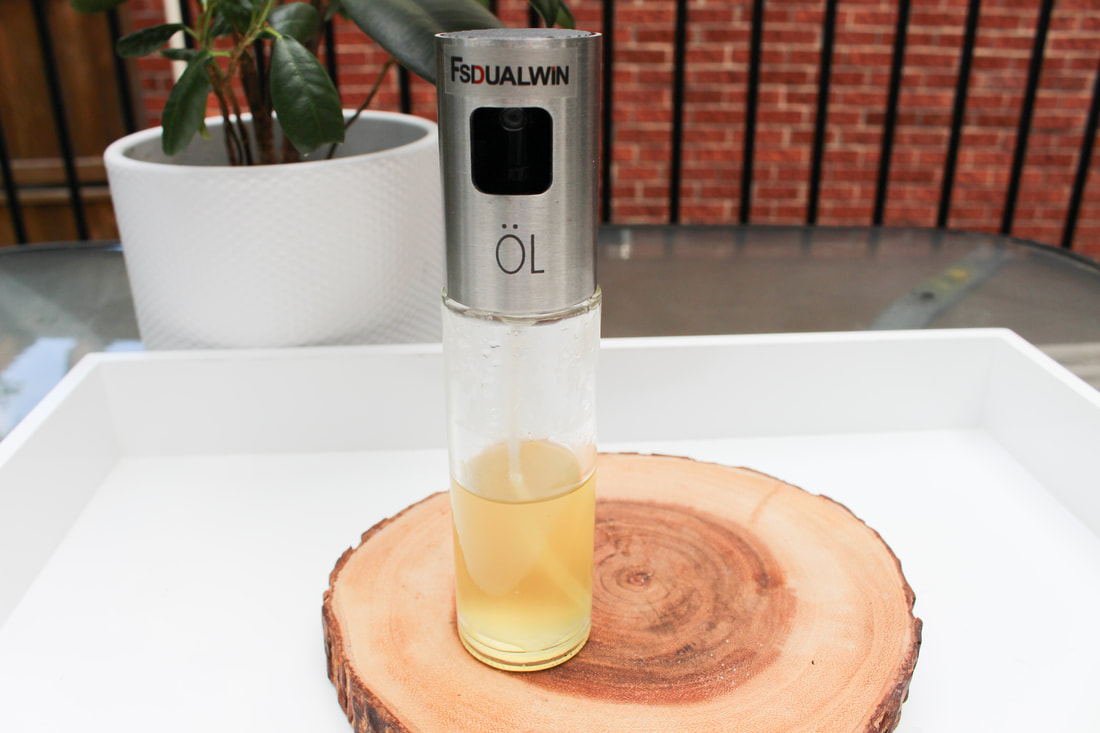
8. Cooking oil spray bottles For convenience, I prefer to have a spray bottle of cooking oil above my stove. But we know aerosol cans aren’t our best option, and even if they’re a pump bottle, it’s one more bottle that eventually ends up in the trash. Enter this glass oil dispenser. I love this little gadget! Remove the top, fill it up with your favourite oil (I recommend avocado, fractionated coconut, or extra virgin olive oil), and you’re done. 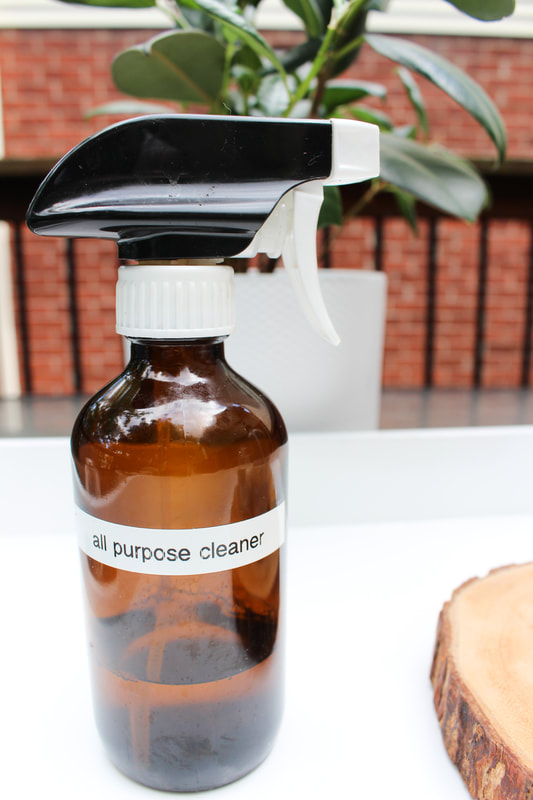
9. All-purpose cleaner plastic bottles This is a favourite of mine for a few reasons. For one, I love having a cleaner I’ve made (again, using my concentrate), knowing it’s safe for my home and my family. Secondly, putting your cleaner in a pretty amber bottle means you don’t mind having it out on your counter, making it even more convenient. If you don’t have a concentrate, you can totally make your own, effective, counter spray. Here’s a recipe you can check out from Crafting The Good Life, but there are a ton out there that you might want to play around with. Don’t feel like you need to purchase an all-purpose cleaner from the store to get the job done. Marketing is a powerful tool. But you can do a great cleaning job using a couple of household products you likely have in your kitchen right now. 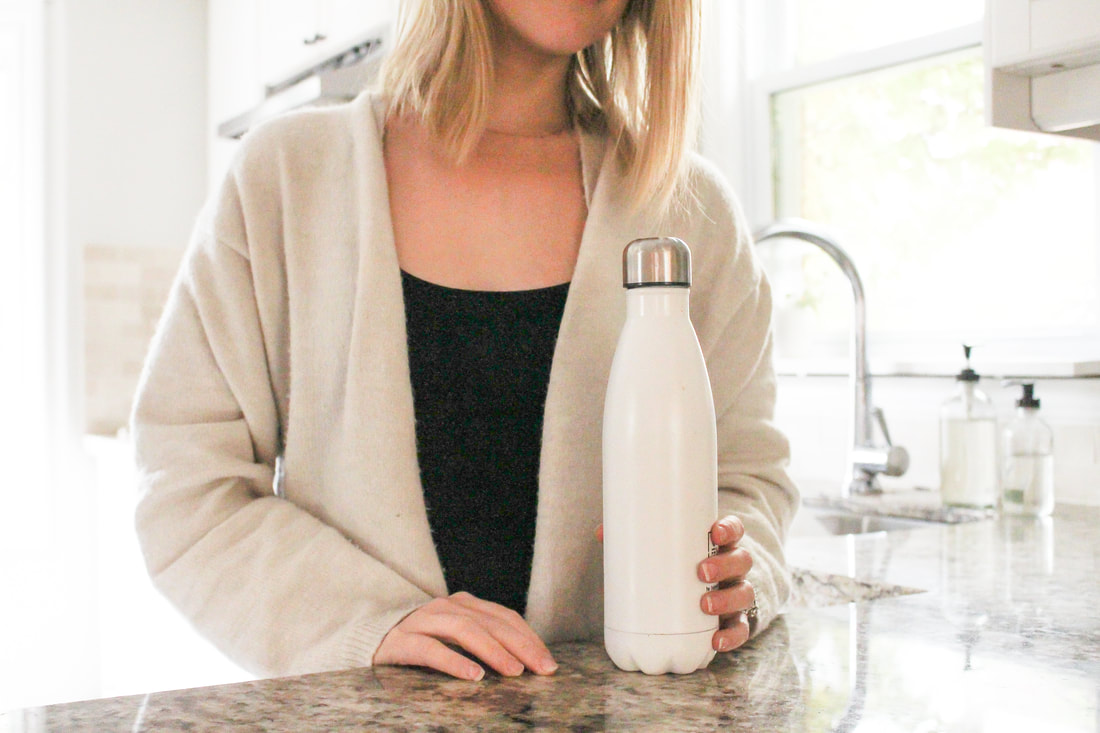
10. Water bottles Finally, if you are still using a plastic, disposable water bottle on a regular basis… get your life together. No excuses. And there you have it: 10 things I don’t buy anymore! Not only did this shift make me feel good about what I was doing for the environment, but in many cases, supported the health of my family in a big way. I am saving money and planet Earth through very little effort at all, all the while creating a low-tox home environment. If you haven’t already, I challenge you to pick one thing on this list and make the switch this week! Start small and see where it takes you. My bet is you never look back. 10/10/2020 0 Comments Vegan and Gluten-Free Apple Crumble It’s apple season, which means my family was like most this past weekend and hit up an apple orchard. Particularly during these strange times, families are jumping on board with any and every outdoor activity available this year! Apple picking was no exception. We packed our picnic basket and trekked 45 minutes north of the city to one of the few organic orchards in our area. Apples are one of the dirty dozen foods, meaning they are one of the highest scoring fruits and vegetables in pesticides, so buying organic is important. 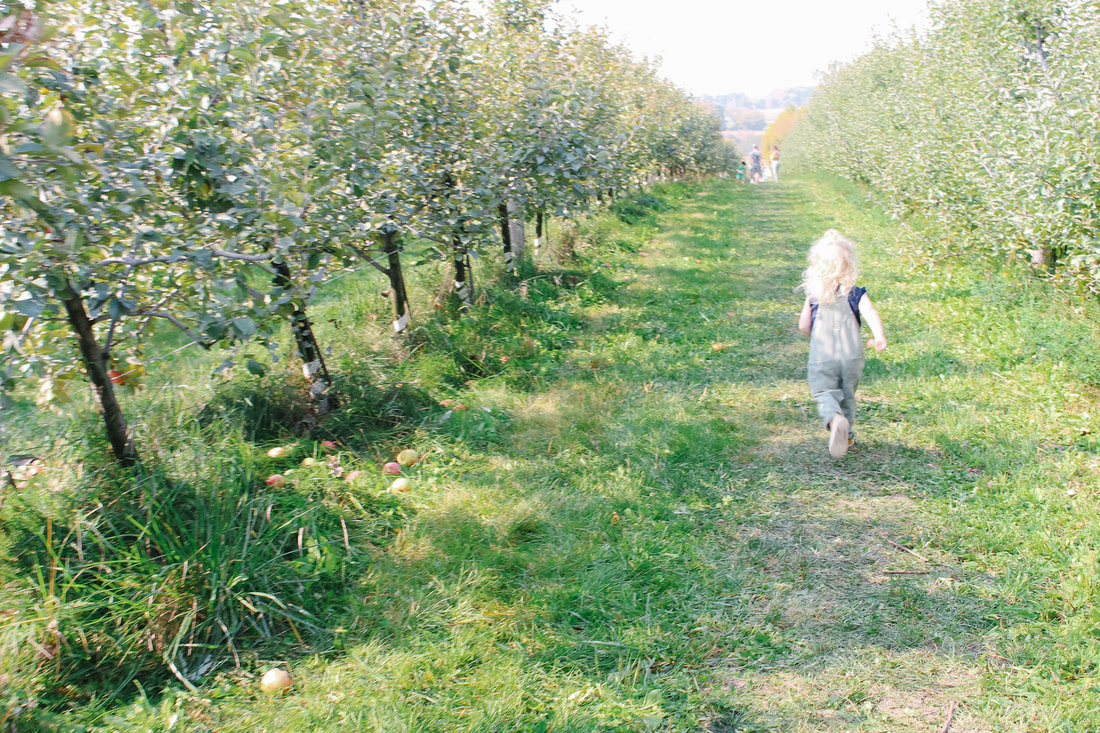 We headed straight for the honey crisp rows and got to work. Although many of the trees had been picked over already (despite being there one day after the honey crisps were deemed ripe enough to pick), we were still able to get a good haul. We weren’t above picking up decent looking apples off the ground. In fact, these are referred to as “wind apples” and it usually means they fell naturally--a sign they are ripe and ready to be eaten. So I was all for the ground apples, as I liked to call them. As soon as we got home, I got to cooking, mostly because I didn’t have anywhere to store 5 dozen apples. First, I made a couple batches of home made apple sauce, my absolute favourite. I steam the apples with skin on for added nutrients, and blend them up using the Vitamix. Sometimes I add some cinnamon, but it’s optional. If any extra liquid is needed, just grab a few tablespoons from your steaming pot. If you make a few batches, it freezes really well and means you can enjoy homemade applesauce any time of the year. After that I obviously had to whip up an apple crumble. Gluten-free was a no brainer for me, but I also decided to keep it vegan by omitting any butter. Easy. 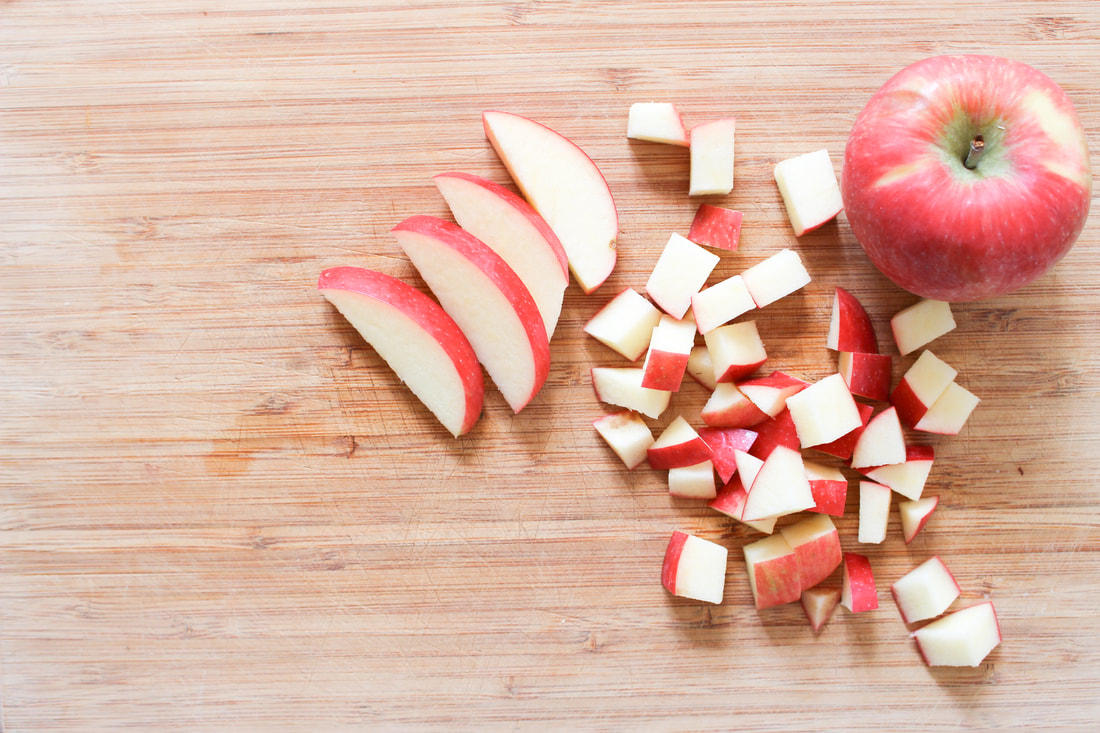 The ticket to a crispy crumble is to make sure the mixture is entirely coated in oil before adding it on top of your apples and then also throwing the oven on broil for a couple of minutes at the end of the cooking process. Just make sure you are watching the clock like a hawk, or you’ll end up with a burn crumble… and nobody likes that. It’s a risky game, but I think the reward is worth it. 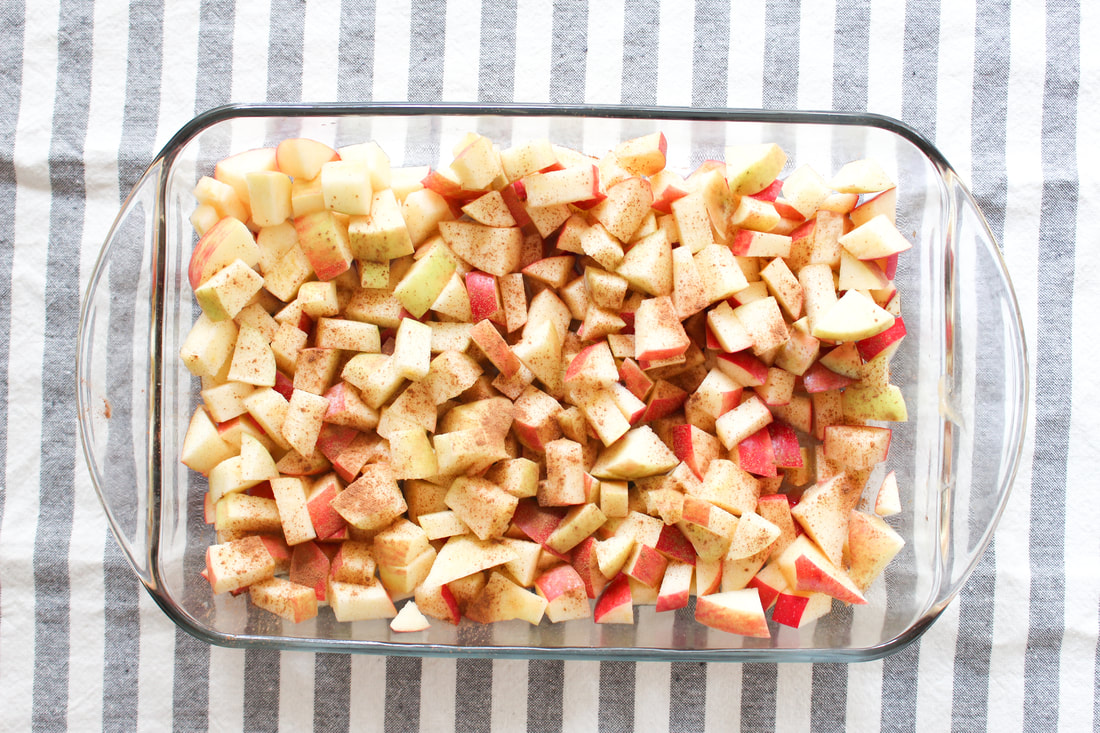 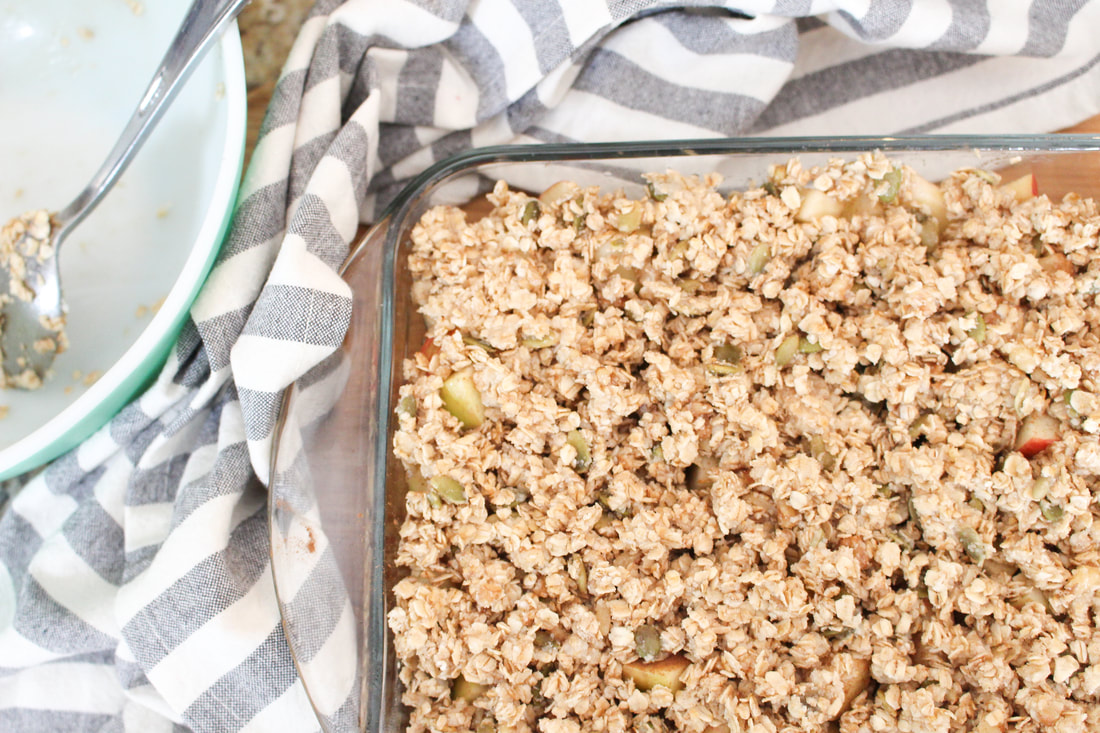 I don’t add any sweetener to my apples, like many recipes suggest. Most apples are sweet enough and if you’ve included maple syrup in the crumble, like my recipe uses, it provides just enough added sweetness. I recommend cutting down on the sugar content by letting the apples do their thing. This recipe actually has so much goodness packed in, you could use it as a dessert or breakfast interchangeably. And what’s better than that? 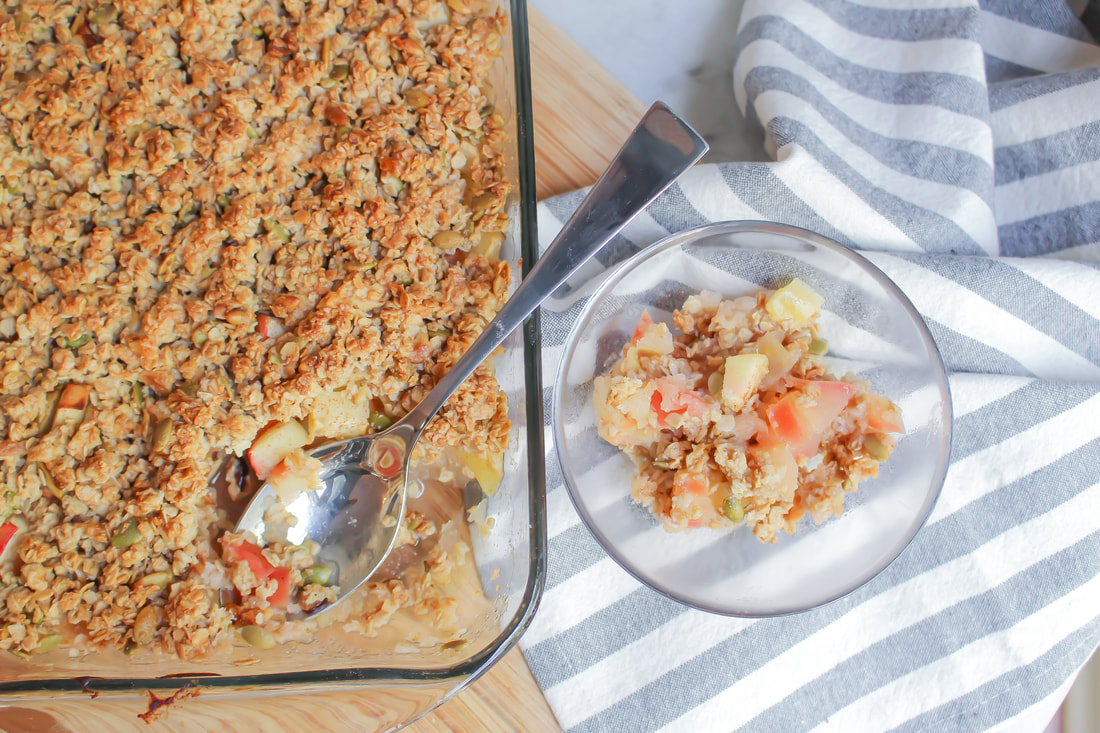 If you’re looking for a last minute Thanksgiving dish, I’ve got you covered. Otherwise, this makes the perfect fall comfort food and what a fantastic excuse to eat seasonally and support local. Vegan, Gluten-Free Apple Crumble |
|
 RSS Feed